Microcontrollers run one program. Embedded Linux runs an entire operating system on a chip smaller than a coin. The Raspberry Pi Zero 2 W costs about 15 USD and runs a full Linux kernel with Wi-Fi, USB, and enough processing power for computer vision, web servers, and database logging. This course teaches you to build, customize, and ship Linux-based embedded systems from the ground up. #EmbeddedLinux #RaspberryPi #LinuxKernel
Why Embedded Linux When We Already Have Microcontrollers?
The previous courses in this series (ATmega328P, STM32, ESP32, RPi Pico, RTOS) teach you to read sensors, drive actuators, and communicate over UART/SPI/I2C on bare metal. That is powerful, but there are entire categories of embedded products that microcontrollers simply cannot handle:
What Microcontrollers Cannot Do
Run a database to store months of sensor history. Serve a full web dashboard with authentication. Process camera images with OpenCV. Run Python or Node.js scripts. Connect to USB peripherals with standard drivers. Host an SSH server for remote maintenance. Support over-the-air updates with rollback. These all require an operating system.
What This Course Builds (That MCU Courses Cannot)
A systemd-managed sensor daemon that auto-starts, recovers from crashes, logs structured data to journald, and communicates over Unix sockets. A custom kernel stripped to boot in under 4 seconds. A production-grade Yocto image with A/B OTA updates, license compliance, and an SDK for your team. None of this is possible on a microcontroller.
The Industrial Reality
Industrial gateways, medical devices, smart cameras, point-of-sale terminals, and automotive infotainment all run embedded Linux. Companies hiring for these roles expect you to know kernel configuration, device trees, Buildroot, and Yocto. Bare-metal skills are the foundation; embedded Linux is where the higher-paying jobs are.
Not Raspbian with apt-get
This is not a “use Raspberry Pi OS” course. You will cross-compile your own kernel, write your own device tree overlays, develop a real kernel module (character device driver), build a minimal image with Buildroot, and produce a shippable Yocto image. You control every byte on the SD card.
Course Structure
Each lesson follows a consistent cycle:
The System Problem
A real embedded Linux challenge. Not “install Raspbian” but “build a minimal Linux that boots to your application in 4 seconds.”
Linux Internals
How the relevant subsystem works: boot sequence, device model, virtual filesystem, kernel build system.
Build and Configure
Cross-compile on your PC, configure with menuconfig or devicetree, and deploy to the Pi Zero 2 W.
Deploy and Test
Flash the SD card, boot, connect via serial console, and verify the system behaves as designed.
Production Considerations
What changes when this is not a hobby project: read-only root, watchdog, logging, update mechanisms.
Lessons
Lesson 1: Cross-Compilation and Boot Process
Cross-Compilation and Boot Process. Set up a cross-compilation toolchain, understand the Linux boot sequence (bootloader, kernel, initramfs, root filesystem), and cross-compile a custom binary. Build a “hello from custom Linux” that runs on first boot.
Build: Custom hello binary on first boot. Parts: RPi Zero 2 W, SD card, USB-serial adapter.
Lesson 2: Kernel Configuration and Custom Build
Kernel Configuration and Custom Build. Clone the kernel source, navigate menuconfig, enable and disable subsystems, and build a minimal kernel from scratch. Build a stripped-down kernel that boots in under 4 seconds.
Build: Fast-booting minimal kernel. Parts: No new parts.
Lesson 3: Device Trees and Hardware Description
Device Trees and Hardware Description. Learn DTS syntax, property bindings, and overlay mechanics. Enable custom I2C and SPI devices through device tree overlays without modifying the kernel. Write an overlay for a BME280 sensor.
Build: Custom device tree overlay for BME280. Parts: BME280 module (reuse from prior courses).
Lesson 4: Userspace I/O: GPIO, I2C, SPI
Userspace GPIO, I2C, SPI. Access hardware from userspace using libgpiod, i2c-dev, and spidev. Understand character devices, ioctl, and userspace driver patterns. Build a GPIO doorbell monitor with I2C sensor logging.
Build: GPIO doorbell monitor with sensor logging. Parts: Push button, LED, reuse BME280.
Lesson 5: Linux Kernel Module Development
Kernel Module Development. Write a loadable kernel module from scratch: module skeleton, Makefile, parameters, sysfs attributes, and a character device interface. Build a custom driver that controls LED patterns via /dev/mydevice.
Build: Custom character device driver for LED patterns. Parts: LEDs, resistors (reuse from prior courses).
Lesson 6: Buildroot: Custom Linux from Scratch
Buildroot: Custom Linux Image. Configure Buildroot to produce a minimal Linux image: select packages, add root filesystem overlays, create custom package recipes. Build a minimal image that boots directly to your sensor application.
Build: Minimal Linux image with baked-in sensor app. Parts: No new parts.
Lesson 7: System Services and Process Management
System Services and Process Management. Write systemd unit files, configure watchdog supervision, implement IPC (pipes, shared memory, Unix sockets), and set up real-time scheduling with PREEMPT_RT. Build a systemd-managed sensor daemon.
Build: systemd-managed sensor daemon with IPC. Parts: Reuse existing.
Lesson 8: Yocto Project and Production Images
Yocto Project and Production Images. Set up the Yocto build system with BitBake. Create custom layers, write recipes, generate an SDK, and produce a reproducible production image. Build an OTA-ready production image with your custom BSP layer.
Build: Production-grade Yocto image. Parts: No new parts.
Lesson 9: Edge Gateway for MCU Sensor Networks
Edge Gateway for MCU Sensor Networks. Combine everything from this course and the entire embedded series. Build an edge gateway that receives MQTT data from ESP32/Pico nodes, stores readings in SQLite, serves a live web dashboard, captures USB webcam snapshots, and forwards to the cloud. Does things MCUs cannot handle and does them more reliably than stock Raspberry Pi OS.
Build: Complete edge gateway with MQTT broker, database, dashboard, camera, OTA. Parts: USB webcam (optional).
Parts Kit
Minimal new hardware required. Most parts are reused from earlier courses.
Part
Quantity
First Used
Approximate Cost
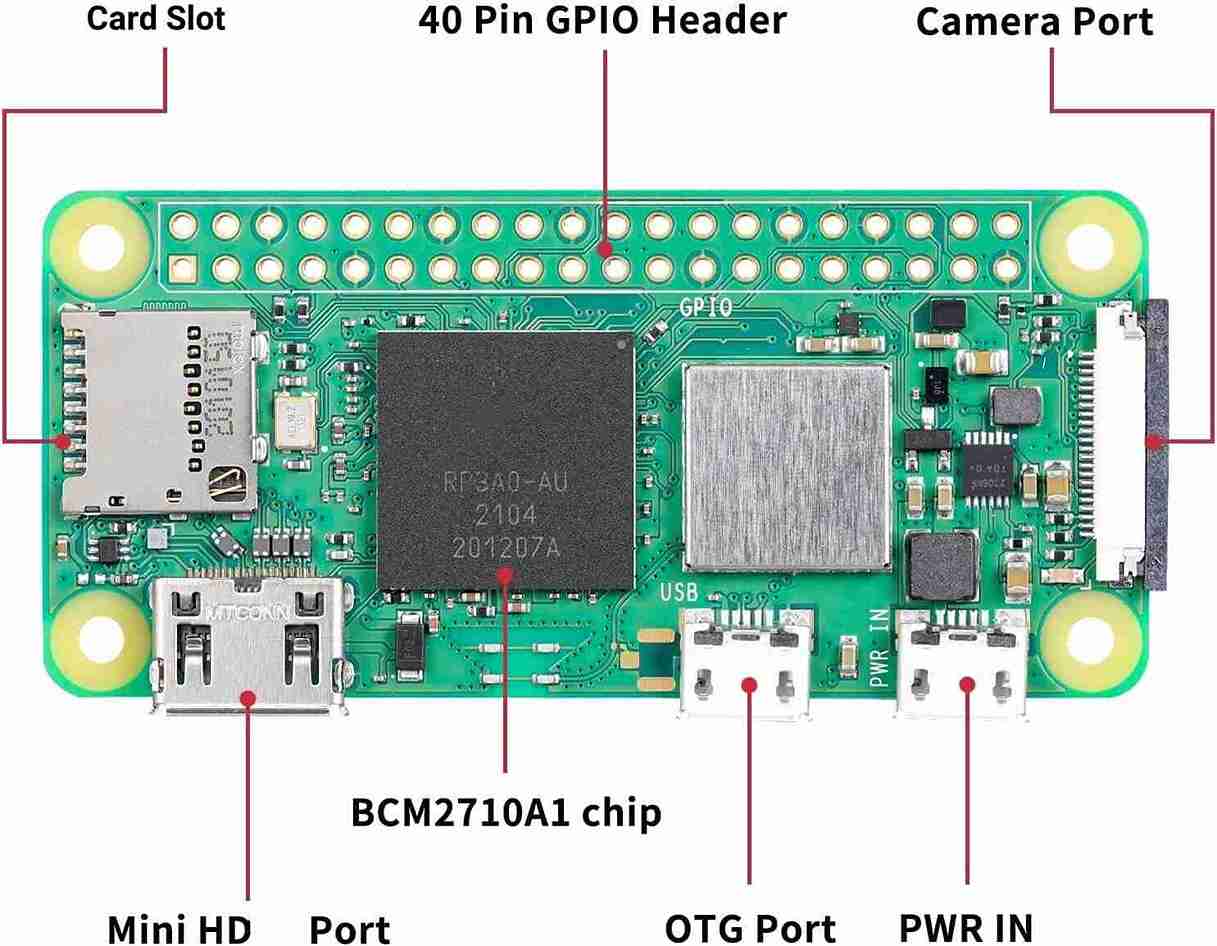
Raspberry Pi Zero 2 W
1
Lesson 1
$15
MicroSD card (16GB+)
1
Lesson 1
$5
USB-serial adapter (FTDI or CP2102)
1
Lesson 1
$2-4
Micro USB OTG cable
1
Lesson 1
$1
BME280 sensor module
1
Lesson 3
Reuse
Push button + LED + resistors
Few
Lesson 4
Reuse
USB webcam (any UVC-compatible)
1
Lesson 9
~5 USD (optional)
Total estimated cost: 23 to 30 USD (if you have components from prior courses)
Skill Progression
Skill
Lessons 1-2
Lessons 3-4
Lessons 5-6
Lessons 7-9
System
Cross-toolchain, boot sequence, kernel build
Device trees, userspace drivers
Kernel modules, Buildroot
systemd, Yocto, edge gateway
Linux
menuconfig, initramfs
DTS overlays, /dev nodes
Module Makefile, sysfs, chardev
Unit files, BitBake, MQTT/SQLite
Hardware
Serial console, SD card boot
I2C/SPI from userspace
GPIO from kernel space
Full system + USB camera
Production
Fast boot
Custom hardware support
Minimal root filesystem
Reproducible images, OTA, deployment
Prerequisites
Embedded and Linux command-line experience required
You should be comfortable with:
C programming (pointers, structs, Makefiles)
Linux command line (shell, file permissions, package management, ssh)
Basic embedded concepts from at least one prior course
Get a Raspberry Pi Zero 2 W, a microSD card, and a USB-serial adapter (CP2102 or FTDI). Total cost: about $22.
Use a Linux PC for development. Cross-compilation and kernel building work best on a native Linux machine or VM. Ubuntu 22.04+ recommended. Lessons 6 and 8 (Buildroot, Yocto) require significant disk space (30GB+).
Connect via serial console, not HDMI. The serial adapter gives you boot messages, kernel logs, and a root shell. This is how embedded Linux development actually works.
Start with Lesson 1. Cross-compile a binary on your PC and run it on the Pi. This immediately establishes the embedded Linux development workflow.
Work through lessons in order. Each lesson builds on the system configuration from previous lessons.