Understand, Don't Abstract
The Arduino IDE hides what matters. Writing to DDRx, PORTx, and PINx directly teaches you how microcontrollers actually work. This knowledge transfers to every chip you will ever use.
Learn embedded systems from the ground up by programming the ATmega328P in pure C. No Arduino IDE, no abstraction layers. Every register write is intentional, every peripheral is understood at the datasheet level. Each lesson builds a real, working project with minimal components. #EmbeddedSystems #AVR #BareMetal
Understand, Don't Abstract
The Arduino IDE hides what matters. Writing to DDRx, PORTx, and PINx directly teaches you how microcontrollers actually work. This knowledge transfers to every chip you will ever use.
The Datasheet Is Your Teacher
Every lesson references the ATmega328P datasheet directly. You learn to read register descriptions, timing diagrams, and electrical specs. This is the skill that separates hobbyists from engineers.
Smaller, Leaner Firmware
The Arduino IDE’s Blink sketch compiles to 924 bytes of flash. Our Morse code beacon does more and uses under 428 bytes. Bare metal includes only what you write, with no hidden timer setup, pin lookup tables, or runtime overhead.
Real Projects, Real Hardware
Each lesson produces something purposeful: a temperature logger, a weather station, a reaction time tester. You build things worth keeping while learning each peripheral.
Minimal, Affordable Hardware
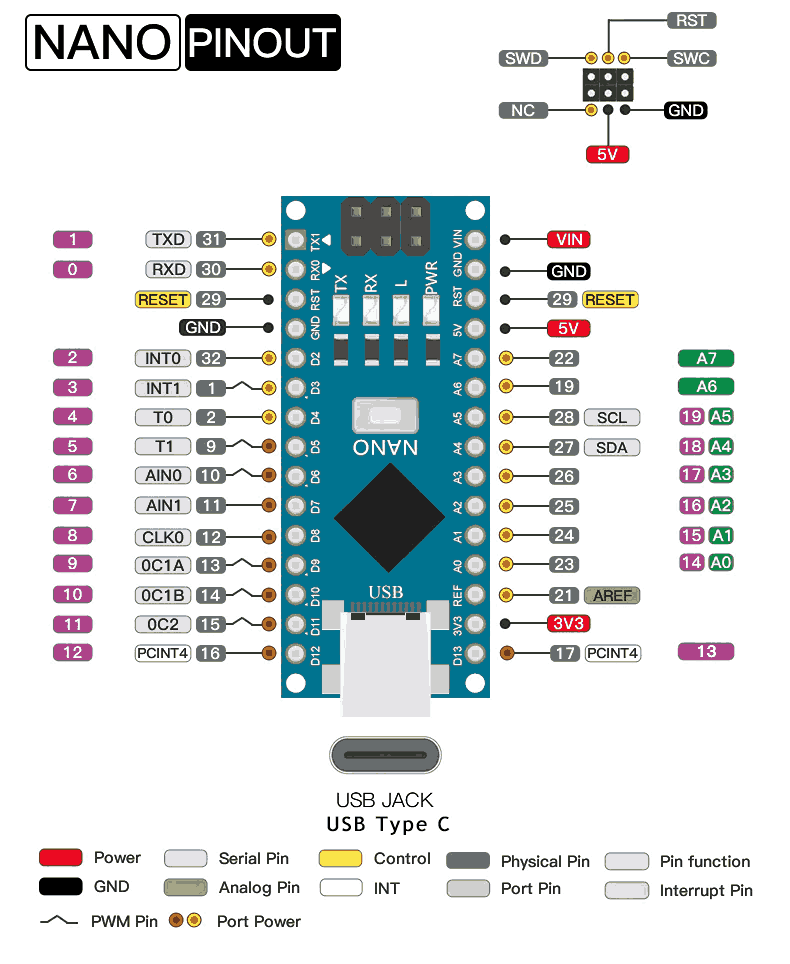
An Arduino Nano costs under 5 USD. A breadboard and a handful of components is all you need. No expensive dev kits, no debugger required to start. You can begin today.
Every lesson follows the same cycle:
The Problem A real, specific thing to build. Not “learn about timers” but “build a precision metronome.”
The Registers Which registers control this peripheral, what each bit does, and why. Direct datasheet references throughout.
The Code Bare-metal C, compiled with avr-gcc, flashed with avrdude. Every line explained at the register level.
The Build Wire it on a breadboard, flash, and test. Each lesson adds one or two new components to your growing kit.
Going Further Challenges and extensions for those who want to push deeper into the peripheral.
Lesson 1: AVR Toolchain and Bare-Metal C
AVR Toolchain and Bare-Metal Setup. Install avr-gcc, avrdude, and write your first Makefile. Build a Morse code beacon that blinks your name on an LED. First contact with register-level programming. Build: Morse code beacon. Parts: Nano, breadboard, LED, 220R resistor.
Lesson 2: GPIO Registers and Digital I/O
GPIO Registers and Digital I/O. Master DDRx, PORTx, PINx registers and bit manipulation. Build an electronic dice with button input and random LED patterns using a simple LFSR. Build: Electronic dice. Parts: 3 more LEDs, push button, 10K resistor.
Lesson 3: Timer/Counter Fundamentals
Timer/Counter Fundamentals. Explore Timer0, Timer1, and Timer2 in Normal, CTC, and PWM modes. Prescalers, overflow interrupts, output compare. Build a tunable tone generator with precise frequencies. Build: Tunable tone generator. Parts: Piezo buzzer.
Lesson 4: Interrupts and Event-Driven Design
Interrupts and Event-Driven Design. Configure INT0/INT1, pin-change interrupts, and timer interrupts. Learn ISR design patterns, volatile variables, and atomic blocks. Build a reaction time tester. Build: Reaction time tester. Parts: Reuse existing.
Lesson 5: UART Serial Communication
UART Serial Communication. Set up the USART peripheral from scratch: baud rate calculation, TX/RX registers, ring buffers, printf redirect. Build a temperature logger that streams CSV to your PC. Build: Temperature logger with CSV export. Parts: 10K thermistor.
Lesson 6: SPI Protocol and Peripheral Interfacing
SPI Protocol and Peripheral Interfacing. Master the SPI peripheral: SPCR, SPSR, clock polarity/phase, master/slave select. Write an SSD1306 OLED driver from scratch. Build a real-time clock display. Build: OLED clock display. Parts: SSD1306 OLED (SPI).
Lesson 7: I2C Bus and Sensor Integration
I2C Bus and Sensor Integration. Implement I2C (TWI) communication: start/stop conditions, addressing, ACK/NACK, multi-byte reads. Interface a BME280 for temperature, humidity, and pressure on your OLED. Build: Mini weather station. Parts: BME280 module.
Lesson 8: ADC and Analog Signal Acquisition
ADC and Analog Signal Acquisition. Configure the 10-bit ADC: reference voltage selection, channel multiplexing, free-running vs single conversion, noise reduction techniques. Build a light-tracking indicator. Build: Light-tracking indicator. Parts: 2 LDRs, 2 resistors.
Lesson 9: Power Management and Watchdog
Power Management and Watchdog. Explore all sleep modes (Idle through Power-down), watchdog timer configuration, BOD disable, EEPROM storage, and wakeup sources. Build a battery-powered door open alert with persistent event counting. Build: Battery-powered door alert. Parts: 2xAA battery holder, reed switch.
Lesson 10: Integrated Stepper Motor and Motion Control
Integrated Stepper Motor and Motion Control. Combine every peripheral from the course into a single-axis CNC-style controller. Parse G-code over UART, generate step pulses with Timer1, home with a limit switch interrupt, jog with an ADC potentiometer, and store calibration in EEPROM. Build: Single-axis stepper controller. Parts: A4988 driver, NEMA 17 motor, limit switch, 10K pot, 12V supply.
Everything you need for the entire course, beyond the Arduino Nano:
| Part | Quantity | First Used | Approximate Cost |
|---|---|---|---|
| Arduino Nano (ATmega328P) | 1 | Lesson 1 | 3-5 USD |
| Breadboard + jumper wires | 1 set | Lesson 1 | 3-5 USD |
| LEDs (assorted colors) | 4 | Lesson 1 | 1 USD |
| 220R resistors | 4 | Lesson 1 | 0.50 USD |
| 10K resistors | 2 | Lesson 2 | 0.50 USD |
| Push button | 1 | Lesson 2 | 0.25 USD |
| Piezo buzzer | 1 | Lesson 3 | 0.50 USD |
| 10K NTC thermistor | 1 | Lesson 5 | 0.50 USD |
| SSD1306 OLED display (SPI) | 1 | Lesson 6 | 3-4 USD |
| BME280 sensor module | 1 | Lesson 7 | 2-3 USD |
| LDR photoresistors | 2 | Lesson 8 | 0.50 USD |
| Reed switch | 1 | Lesson 9 | 0.50 USD |
| 2xAA battery holder | 1 | Lesson 9 | 0.50 USD |
| A4988 stepper driver module | 1 | Lesson 10 | 1-2 USD |
| NEMA 17 stepper motor | 1 | Lesson 10 | 5-8 USD |
| Limit switch (microswitch) | 1 | Lesson 10 | 0.25 USD |
| 12V power supply | 1 | Lesson 10 | 3-5 USD |
Total estimated cost: 25-38 USD (including the Nano)
| Skill | Lessons 1-3 | Lessons 4-5 | Lessons 6-7 | Lessons 8-9 | Lesson 10 |
|---|---|---|---|---|---|
| Registers | GPIO, Timer/Counter | Interrupt vectors, USART | SPI, TWI (I2C) | ADC, sleep/watchdog, EEPROM | All combined |
| Patterns | Polling, bit manipulation | ISR design, ring buffers | Protocol drivers | Signal processing, low power | G-code parsing, motion control |
| Hardware | LEDs, buttons, buzzer | Thermistor, serial | OLED display, BME280 sensor | LDRs, battery power | Stepper motor, driver, limit switch |
| Tools | avr-gcc, avrdude, make | Serial monitor | Logic analyzer (optional) | Multimeter for current draw | Serial terminal, 12V supply |
You should be comfortable with:
Helpful but not required:
Get an Arduino Nano (or any ATmega328P board) and a breadboard with jumper wires.
Install the AVR toolchain: avr-gcc, avr-libc, avrdude. Lesson 1 walks through setup on Linux, macOS, and Windows.
Download the ATmega328P datasheet from Microchip (product page, archive copy). You will reference it in every lesson.
Start with Lesson 1. Each lesson builds on the previous one. Work through them in order.
Build every project. Reading code is not the same as wiring a circuit and watching it work.